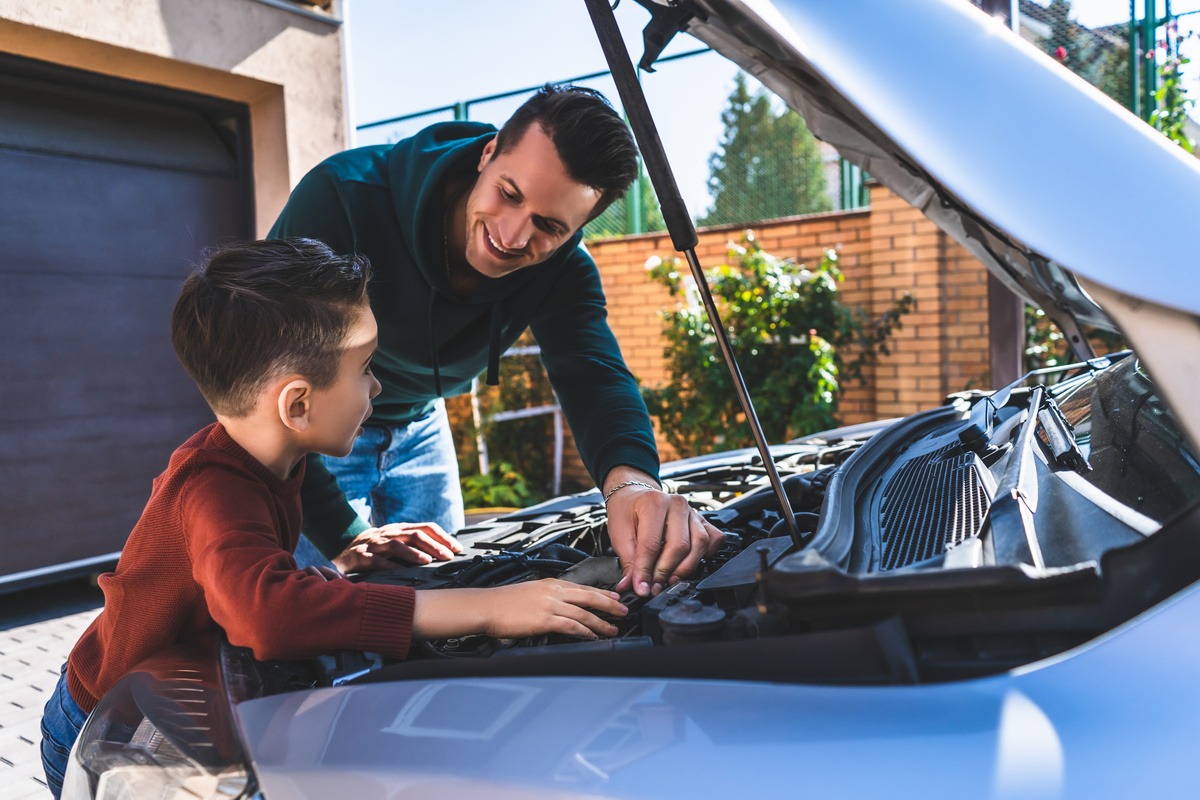
Everybody knows that maintaining your vehicle is crucial for longevity, safety, and performance. Regular upkeep prevents unexpected issues, reduces repair costs, and enhances fuel efficiency, ultimately saving money. While professional mechanics are valuable, many basic maintenance tasks can be performed at home, even by car care beginners. Taking on these DIY projects offers dual benefits: reducing mechanic expenses and gaining insight into your vehicle’s operations. This knowledge empowers you to make better decisions about your car and handle minor issues confidently. This guide aims to demystify car maintenance, providing you with the skills to perform essential tasks. By embracing DIY car care, you’ll keep your vehicle in good condition while reducing expenses. Let’s explore how you can become more self-reliant in maintaining your car!
Essential Tools and Supplies
Before diving into the world of DIY car maintenance, let’s gather the necessary tools and supplies. The good news is, you probably already have most of what you need around the house!
Key Tools
- Socket wrench set for various nuts and bolts
- Adjustable wrenches for diverse tasks
- Screwdriver set (Phillips and flathead)
- Pliers (needle-nose and regular) for small parts
- Bright flashlight for visibility in tight spaces
Necessary Supplies
- Tire pressure gauge for monitoring
- Oil filter wrench for easier filter changes
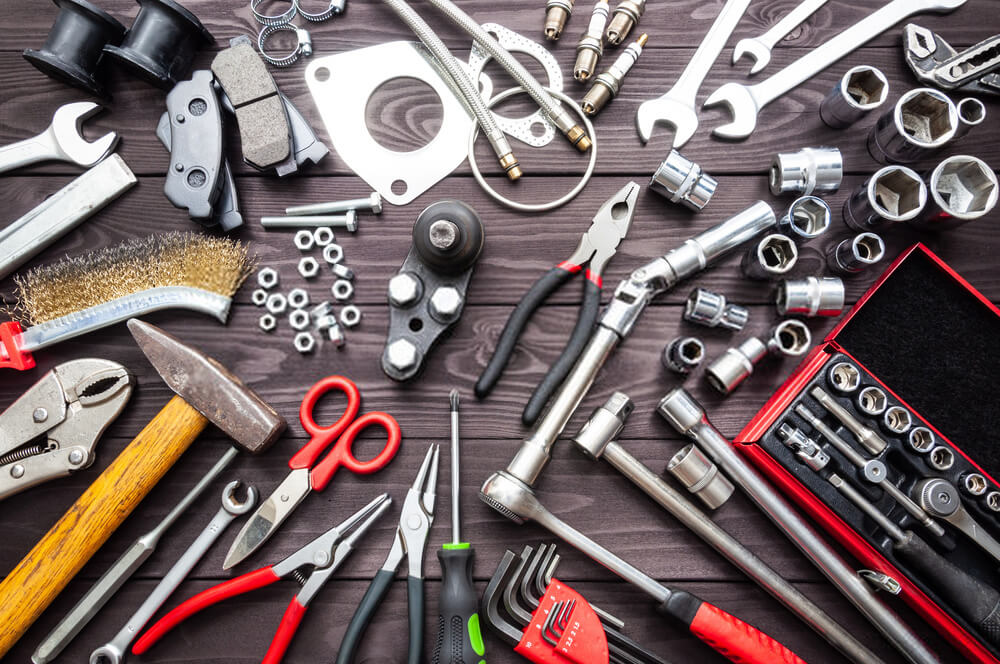
This basic kit will prepare you for many DIY car maintenance tasks. Consider adding specialized tools as needed for more advanced projects.
Simple Maintenance Tasks
Fluid Management
Maintaining proper fluid levels is critical for your vehicle’s health and efficiency. Here’s a comprehensive guide to managing crucial fluids:
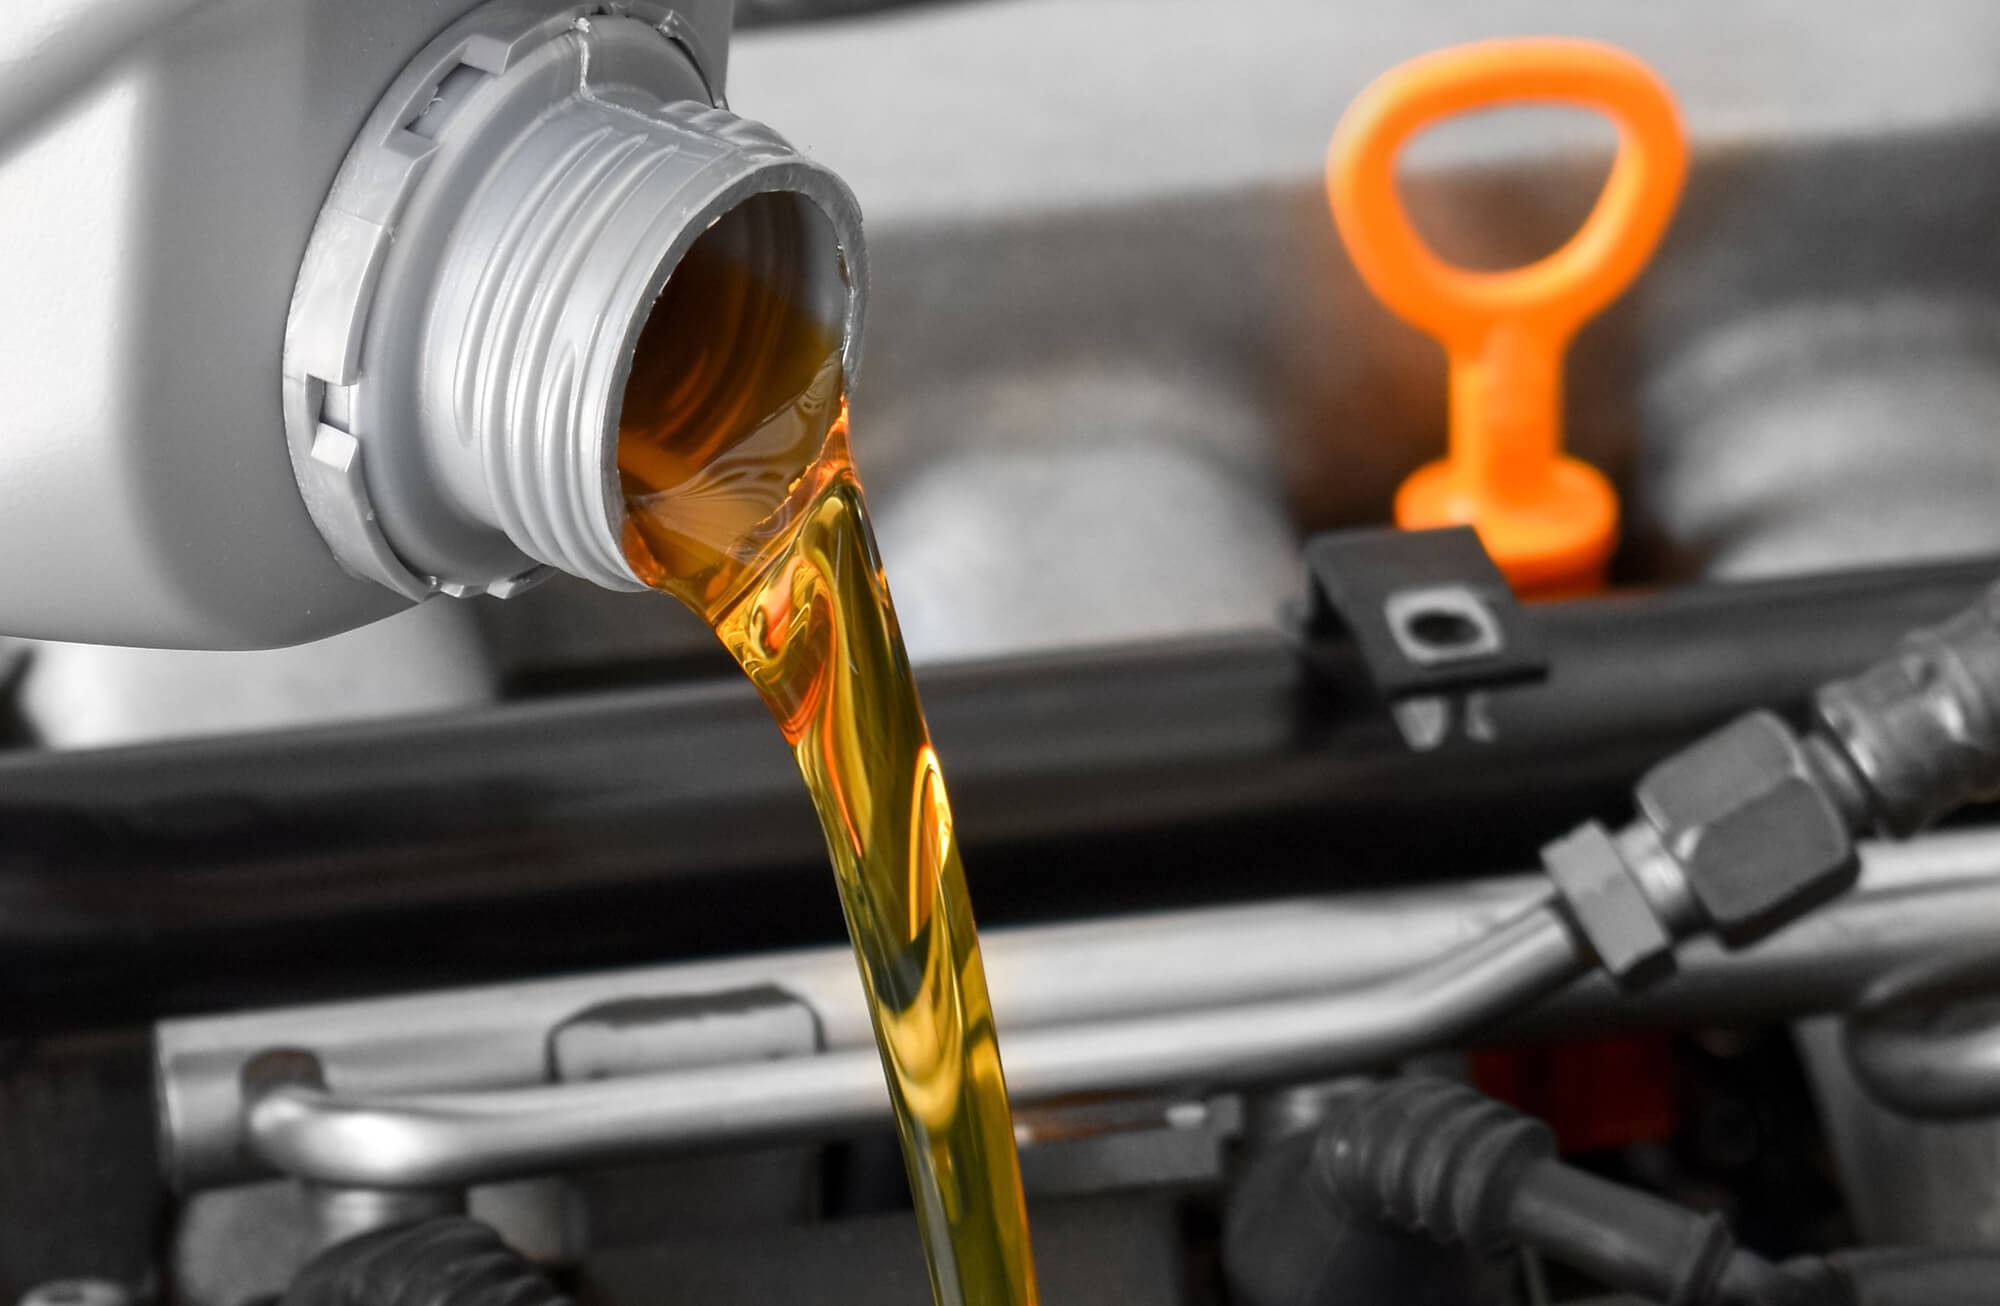
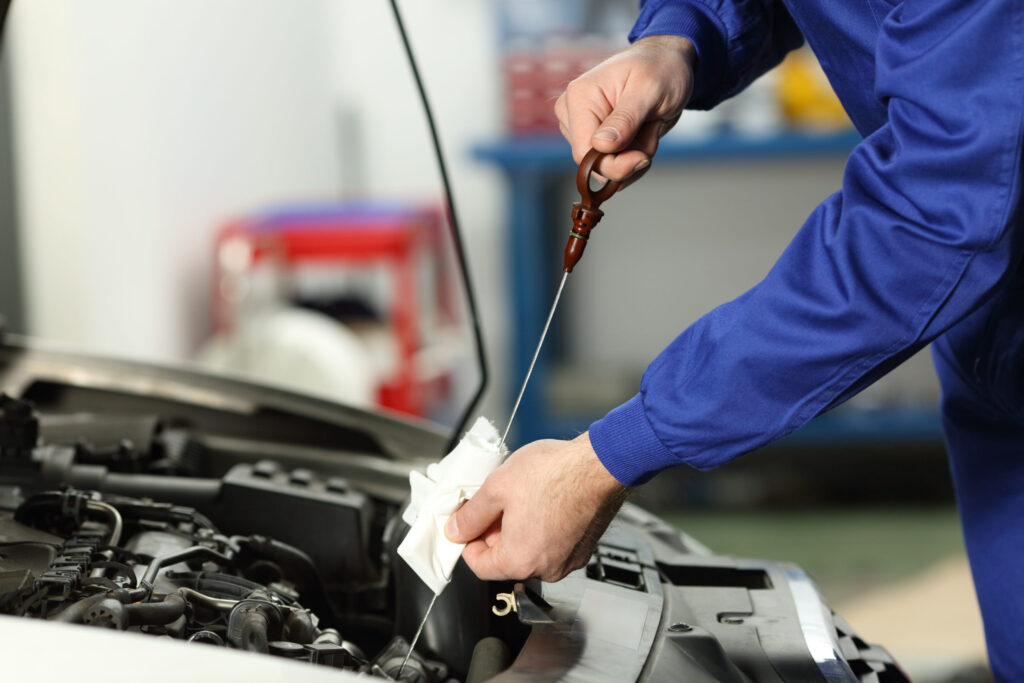
- Engine Oil: This vital lubricant prevents engine wear and overheating. Locate the dipstick (typically yellow or orange) under the hood. Remove, clean, reinsert fully, then check the level – it should fall between the min and max marks. If low, consult your manual for the correct oil type and viscosity before topping up.
- Coolant: Essential for temperature regulation, coolant is found in a translucent reservoir under the hood. Check that the level is between the min and max lines. If low, add the manufacturer-recommended coolant type. Caution: Never open a hot coolant system!
- Brake Fluid: Crucial for safety, brake fluid ensures optimal braking performance. The reservoir is usually near the firewall. The level should be at the “max” line. If low, investigate for potential leaks or brake wear before adding fluid. Always use the specified DOT rating.
- Power Steering Fluid: This hydraulic fluid aids steering ease. The reservoir is typically translucent and located under the hood. Maintain the level between min and max marks. If consistently low, check for leaks in the system.
- Transmission Fluid: Often overlooked, this fluid is vital for automatic transmissions. Check with the engine running and in park. Use the dipstick to verify levels and fluid condition. Discolored or burnt-smelling fluid may indicate the need for a transmission service.
Remember: Always use manufacturer-specified fluids to ensure compatibility and optimal performance. Regular fluid checks can prevent costly repairs and extend your vehicle’s lifespan.
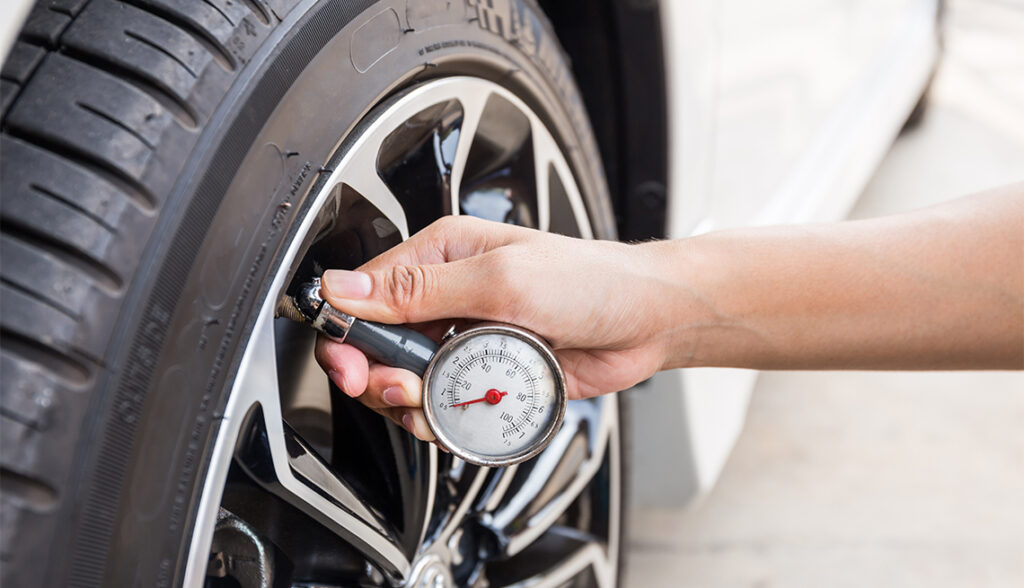
Checking Tire Pressure and Tread Depth
Maintaining the correct tire pressure is necessary for safety, fuel efficiency, and extending the life of your tires. The recommended tire pressure for your car is usually listed on a sticker inside the driver’s door jamb.
Here’s how to check your tire pressure:
- Remove the valve cap from a tire.
- Press a tire pressure gauge firmly onto the valve stem and hold it until the reading stabilizes.
- If the pressure is low, inflate the tire using an air pump at a gas station or with a portable air compressor (following the pump’s instructions).
- Repeat for all four tires, including the spare.
Don’t forget to check your tire tread depth! Insert a penny head-first into the tread grooves. If the top of Lincoln’s head disappears completely, your tires are due for replacement. You can also use a tread depth gauge for a more precise measurement. Maintaining proper tire pressure and replacing worn-out tires are crucial safety measures. While you can check the pressure yourself, consider getting your tires rotated and balanced regularly by a professional for optimal performance and lifespan.
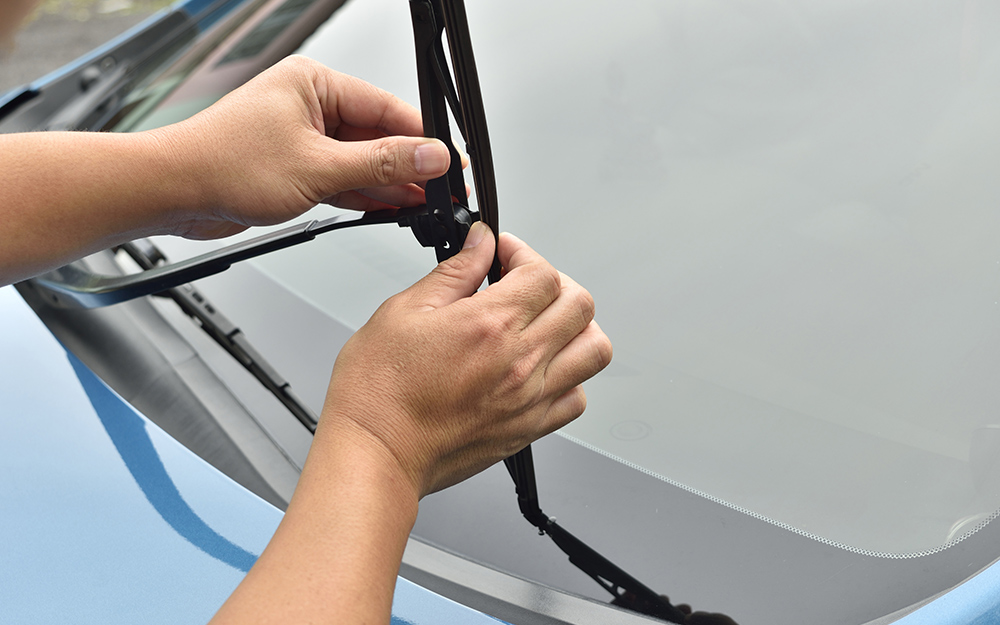
Replacing Windshield Wiper Blades
Worn-out wiper blades can leave streaks and impair visibility during rain or snow. Replacing them is a quick and easy process.
- Locate the wiper blade attachment point on the wiper arm (usually a small tab or button).
- Lift the tab and pull the old blade straight out of the wiper arm.
- The new wiper blade should come with instructions for attaching it to the specific wiper arm type. Line it up carefully and snap it securely into place.
- Repeat for the other wiper blade.
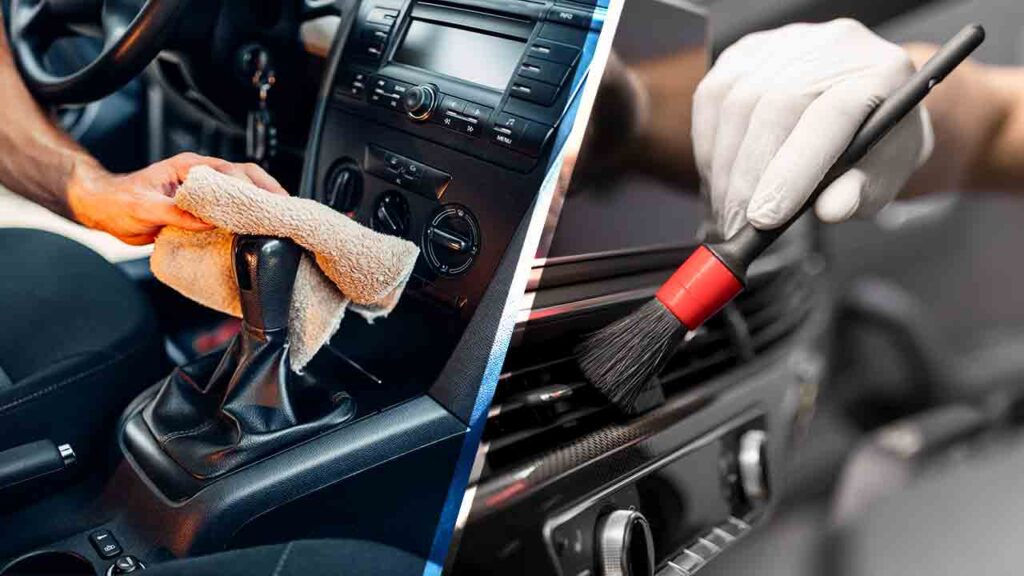
Cleaning the Interior
Keeping your car’s interior clean not only enhances its look and feel but also helps maintain its value. Here are some tips:
- Vacuum thoroughly: Use the appropriate attachments to reach all the nooks and crannies, removing dust, crumbs, and debris.
- Wipe down surfaces: Use a microfiber cloth dampened with a solution of mild all-purpose cleaner and water to clean the dashboard, center console, and door panels.
- Clean windows: For a streak-free shine, use a glass cleaner specifically formulated for car windows and a microfiber cloth.
Safety Precautions
Empowering yourself through DIY car maintenance is commendable, but safety must be your top priority. Choose a well-illuminated, level workspace with sufficient room for maneuverability. Always engage the parking brake and use wheel chocks for added stability when working on your vehicle. Your car’s manual is an invaluable resource – consult it for model-specific guidelines and safety protocols. If you encounter any uncertainties or feel overwhelmed by a task, don’t hesitate to seek professional assistance. A certified mechanic can provide expert guidance, ensuring both the quality of work and your personal safety.
Exercise extreme caution when handling automotive fluids. Engine oil, coolant, and brake fluid can reach scalding temperatures and may be caustic. Always don protective gear, including safety glasses and chemical-resistant gloves. Implement spill prevention measures and keep an appropriate absorbent material on hand for quick cleanup. Be vigilant about potential entanglement hazards. Secure long hair, remove dangling jewelry, and avoid loose-fitting clothing that could be caught in moving components like serpentine belts or cooling fans. Always disconnect the battery before working near electrical systems to prevent short circuits or accidental starts.
Conclusion
Taking on simple DIY car maintenance tasks offers a multitude of benefits. Not only will you save money on mechanic bills, but you’ll also gain valuable knowledge about your car’s inner workings, fostering a sense of accomplishment and confidence. With the right tools, a little know-how, and prioritizing safety, you can keep your car running smoothly and looking its best. This guide is just the beginning of your DIY car care adventure! Explore the wealth of resources available on the Rhonium website. From detailed tutorials on specific maintenance tasks to informative articles on various car care topics, Rhonium is your one-stop shop for empowering yourself to become a car care pro.